Technical Focus | Moisture
The Key to Long-Lasting Tile: Pay Attention to Moisture
Paying attention to subfloor moisture will avoid serious damage to tile floors and assist in assuring a successful and long-lasting tile installation
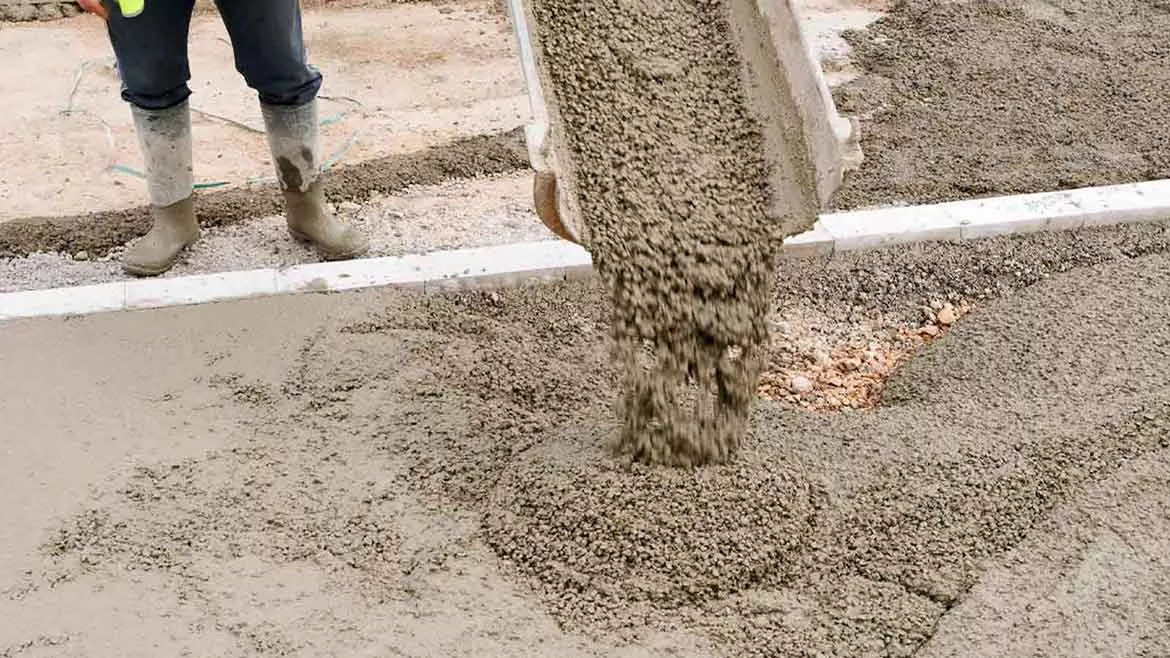
After the initial pour, concrete can take several months to dry sufficiently for a successful floor installation. Photo courtesy of Wagner Meters
Because tile is generally impervious to moisture, you might think you don’t need to assess the moisture condition of the subfloor when getting ready to install tile flooring. However, if you take this approach, you could run into serious problems. Even though the tiles themselves may not be susceptible to moisture damage -- at least not directly -- moisture could still wreak havoc on your installation. Your beautiful tile floor could end up becoming a flooring disaster.
To help you avoid that kind of disaster, let’s discuss:
The Effect of Moisture on Tile Flooring
High moisture levels in the subfloor can lead to a range of problems, including tile cracking, mold growth and structural damage. Here’s how:
TILE CRACKING
Moisture can cause wood-based subfloors to expand and contract and, as a result, put significant pressure on tile flooring. If the fluctuations in moisture become excessive, the tiles can undergo considerable stress that leads to cracking.
These cracks can appear as hairline fractures, or they can extend across the tile surface -- far from desirable! But what’s more, they can jeopardize the structural integrity of the floor.
For these reasons, the current ANSI standards for tile installation specifically exclude the use of oriented strand board (OSB). Nevertheless, if you will be direct bonding ceramic or other tiles to plywood, always install some type of anti-fracture or uncoupling membrane that can help compensate for some of the wood movement due to moisture.
MOLD GROWTH
Subfloor moisture can create the ideal environment for mold to grow. Because tile flooring doesn’t breathe to the extent of other types of flooring, such as wood, do, it’s easy for trapped moisture to become a breeding ground for mold or mildew.
This is much more than an aesthetic issue. It can also pose significant health risks, particularly for people with allergies, respiratory conditions or compromised immune systems.
STRUCTURAL DAMAGE
Unchecked moisture can lead to serious structural problems, especially for wood-based subfloors. The problems are wide-ranging and may include warping, swelling or rotting of the subfloor. Any of these issues can affect the tile, too. You could end up with cracked tiles, uneven tile edges that can be a tripping hazard or other issues that require costly repairs or replacement.
If you take steps to prevent exposure to moisture prior to installing the tile floor, you can minimize the risk of costly moisture-related issues.
Let’s look at some common sources of moisture in subfloors.
Sources of Moisture in Subfloors
Most common subfloor materials are hygroscopic. This means they will absorb or release moisture depending on the surrounding conditions. For this reason, a high-humidity environment can contribute to significant levels of moisture in the subfloor.
Water leaks from plumbing or appliances can also be a source of large amounts of moisture. Poor site drainage, groundwater and an inadequate grade adjacent to the structure (leading to issues with natural runoff from rain, snow or sprinklers) can all contribute to high subfloor moisture levels.
Concrete subfloors also contain a surprising amount of moisture no matter what is happening in the surroundings. This is because water is one of concrete’s three primary ingredients (the others being cement and aggregate).
Even when a concrete slab appears to be completely dry and hard, it still contains substantial moisture. After the initial pour, it can take several months or more for concrete to dry sufficiently for a successful floor installation, regardless of whether you’re working with tile, wood or another finished floor product.
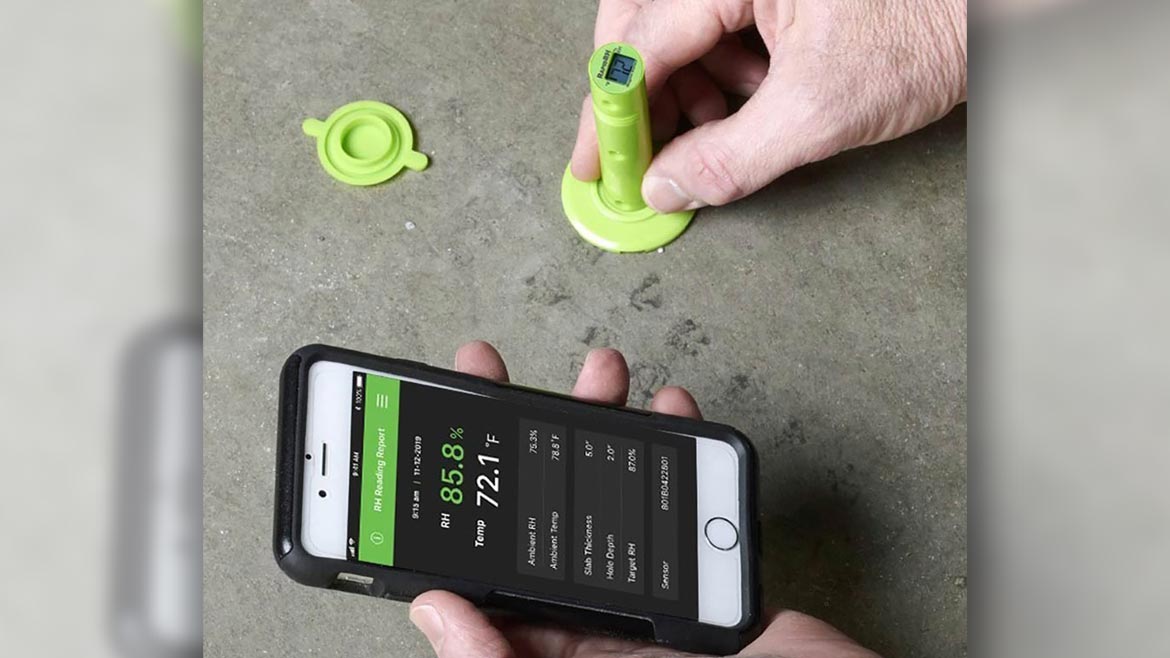
If your subfloor is concrete, it’s always a good idea to test its moisture condition before installation. Photo courtesy of Wagner Meters
Best Methods for Testing Moisture in Concrete Subfloors
If your subfloor is concrete, it’s always a good idea to test its moisture condition. The moisture test method of choice is in-situ relative humidity (RH) testing. It’s been scientifically proven (based on studies at Lund University in Sweden) for accuracy and reliability. Other methods of testing concrete moisture are available, but they are much more apt to give false or misleading results.
The RH test provides results within 24 hours and consists of installing a small number of RH sensors to a specified depth (40% of the overall thickness for a slab drying from one side).
An RH level below 75% is often considered acceptable for tile installations; however, always consult the specific recommendations of the tile and/or setting material manufacturer.
Sometimes, people opt to use a moisture meter calibrated for concrete. This is probably better than not testing for moisture at all. But keep in mind that concrete meters don’t measure moisture more than about 1 inch into the slab and can have severe accuracy problems. Because an uncovered slab typically has higher levels of moisture deeper down, a concrete meter is not recommended for assessing the slab’s overall moisture condition.
Moisture Mitigation Options
If moisture testing of a concrete subfloor reveals that the slab’s moisture levels are too high to go ahead with your tile installation, this might seem frustrating. However, you can be quite thankful because your discovery probably prevented much more significant and costly problems later.
So, how should you address the excess moisture?
Fortunately, you have several different options. You can wait for the concrete to dry, which often makes the most sense, especially if you can afford the time. And by improving ventilation and airflow and ensuring the HVAC system is up and running, you can speed up the process.
Depending on your situation and your budget, you may also want to add an epoxy-based moisture mitigation system.
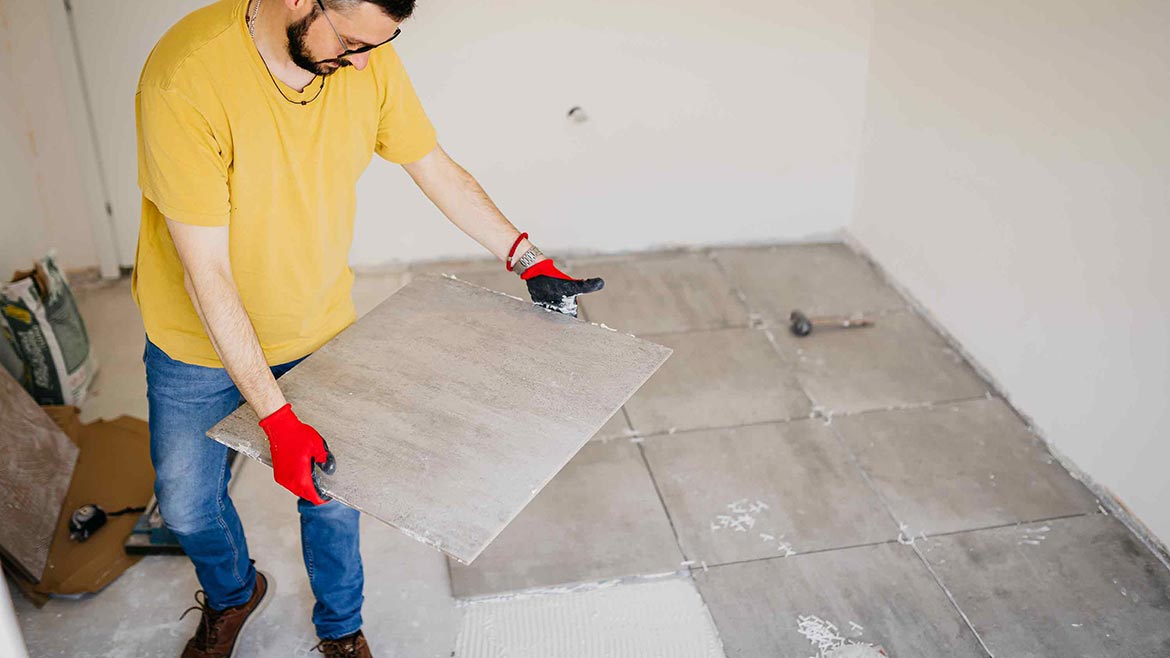
Before installing large-format tiles using thinner grout lines, pay close attention to moisture in the concrete subfloor. Photo courtesy of Wagner Meters
Large-Format Tile Installations
Large-format tile refers to any tile with at least one side over 15 inches. Because they are larger than standard tiles, they require fewer grout lines. This is beneficial for creating a cleaner, less interrupted surface and giving the room a more spacious elegant look.
However, a disadvantage of using large-format tiles is that they can be more difficult to install. Size alone tends to make them more challenging to work with. Plus, a flatter surface is required when working with large tiles. On a concrete subfloor, the use of a self-leveling compound can help meet the flatness requirement.
Another important consideration: If you choose to use thinner grout lines with large-format tiles, you won’t have the same breathability as you would if using standard tiles and larger grout lines.
With thinner grout lines, you should pay especially close attention to moisture when installing over a concrete subfloor. There simply won’t be an easy avenue for excess moisture in the slab to escape. If you don’t take the moisture condition of the concrete into account, your installation could run into trouble over time.
Problems could include:
- Debonding of the tiles due to overwatering of the thinset mortar
- Discolored grout
- Efflorescence: a white, powdery substance that appears on the grout
Don’t expect a trouble-free tile floor if the subfloor moisture is excessive.
Remember: Never Ignore the Importance of Subfloor Moisture
Subfloor moisture can have a profound effect on tile floors. If it goes unchecked or unnoticed, it could lead to costly repairs. But by paying attention to moisture, you can prevent serious damage and feel confident in the longevity of your tile installations.
For more information about moisture issues and the testing of moisture in concrete and other materials, visit WagnerMeters.com or call toll-free (800) 933-3512.
Looking for a reprint of this article?
From high-res PDFs to custom plaques, order your copy today!


