Installing stone veneer
With various sizes, shapes and thicknesses of stone veneer panels, there are several important points to consider before starting an installation
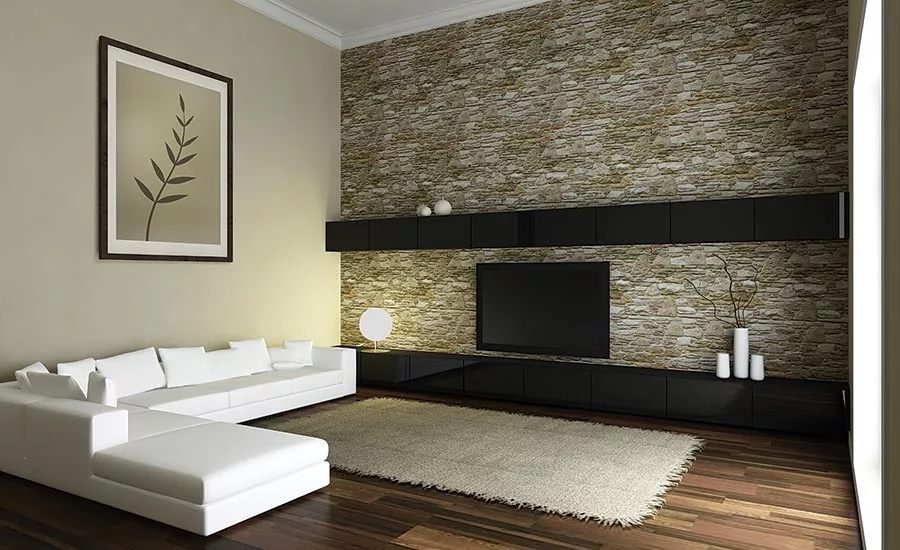
There’s nothing quite like the beauty of natural stone. From marble to slate, stone has been used in and around homes as a functional and decorative surface for centuries. With changing tastes, styles and manufacturing processes, also comes changes in the type of stone being used and its installation.
Stone veneer creates a dynamic appearance in many areas of the home with a wide range of looks, finishes and styles. The stone can be installed to create the look of a “dry stack” with no visible mortar, or it can be used to create contemporary looks with sleek finishes and clean lines. Installed as tiles, planks or panels, stone veneer can be used to create fireplace surrounds, backsplashes, accent wall installations or tub surrounds in the bath.
Like any tile or stone installation, it is important to get to know both the material and the substrate you are installing it on. Natural stone veneer is heavy and should not be installed over drywall; cement backerboard or masonry applications are recommended. Like any material, natural stone should be dry fit and installed to the area, with special attention paid to the edges of the installation, the condition of the substrate, and the shape and size of the stone.
Installing natural stone veneer has a few differences than installing other types of stone. Just like a tumbled ungauged slate will have a different installation process than a honed machined marble, stone veneer installation requires a few specific processes as well.
Installing natural stone veneer
Whether you are using a tile or a panel, natural stone differs significantly from other materials you may install in the same areas. Stone is porous, heavy, and the color and material go straight through, although the finish may be confined to the top surface.
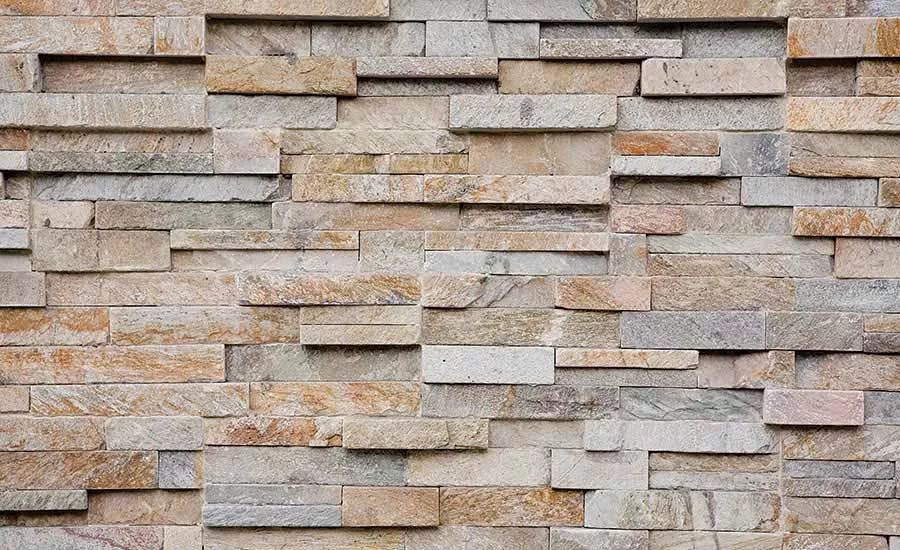
Stone has a tendency to vary in color and sometimes in texture from piece to piece, and sometimes within one piece. It may also vary slightly in size or in depth, and therefore, a dry layout of the material is recommended before starting any installation.
Take pieces of stone from several boxes at a time to ensure a good mixture of color. Lay out the material on a flat surface of identical size and shape to where you will be installing. This is the time to pay attention to the color and size of the stone, so you can get an even blend across the installation. Use pieces that have differing colors from the majority as cuts to avoid breaking the overall pattern.
If using ungauged material, the dry fit is also the time to pay attention to thicknesses and how different pieces of stone will line up with one another. Take the time to adjust and move the stone as needed to ensure a more even installation on the wall.
Pay attention to the type of stone you are installing, as well as the pattern. Some types of stone veneer are designed to butt up tightly against one another, particularly when using panels. Other types of veneer will use a grout or mortar joint between the pieces. If necessary, use spacers to ensure an even distance between the stones.
Make any cuts necessary during this phase of the project to ensure a good fit, and to move things along at a better pace once using mortar. A wet saw with a diamond-edged blade is recommended for cutting stone.
Setting the Stone
Always use the right underlayment for stone — a cement backerboard or backerboard designed for use in wet areas if installing the stone in a bathroom. Stone can be installed directly over other stable hard surfaces such as masonry, concrete blocks or brick, but may require a skim coat of mortar to even out the surface. Do not install stone directly on drywall or over painted surfaces.
While some mastics claim to be able to hold stone tile or large-format tiles on walls, it is recommended to use a thinset mortar that has a polymer additive. This will ensure greater strength in holding the heavy stone in place on the wall. For light-colored stone, use a white mortar whenever possible to avoid staining the stone after installation.
For some types of exterior stone veneer, as well as some rustic veneers, a metal lath may be necessary to help adhere the stone properly to the wall. This lath can be screwed or attached directly to the substrate you are installing on, then covered by a skim coat. Key or scratch the mortar without smoothing out the scratch when you are done; this will ensure that the stone has a better grasp on the wall. Full coverage is recommended for best results. Allow the scratch coat to cure for 24 hours before installing the stone.
If during the dry layout you discovered that the stone pieces are uneven in thickness, take the time to backbutter the stone to even them out. Apply mortar to the four corners of the stone’s underside, then beat the stone into the mortar with a rubber mallet to ensure good coverage.
Backbuttering with natural stone veneers should also be done for larger than average panels or pieces to help prevent lippage. Lippage for wall installations may occur if the surface is not level and the stone is too large to conform to the wall. Backbuttering the stone prior to installation and beating each piece into the mortar can help achieve a smoother installation and a lack of lippage. While some stone veneers may have pieces that are of varying thickness, and lippage would not be apparent, other stone installations require a smooth installation. In these cases, backbuttering to prevent lippage is recommended.
Things to keep in mind
The term stone, or even stone veneer, can be used to encompass a wide range of different materials, including the type of stone, the finish, the application and the installation process. Always refer to the manufacturer’s specific instructions, particularly for patterns, panels and differently shaped stone materials.
Some types of stone may be dusty, particularly when being cut. Always use a wet saw, cut or work on the stone outdoors and wipe off the back of the stone to remove excess dust before installing. Some stones may be dustier than others, particularly ungauged slates, which may spall during or after installation.
Some natural stone veneers may have edge or rail pieces, others can be left unfinished on the sides, while some flat pieces or panels can be bullnosed on site. Always check with the manufacturer to find out what edge finishing options may be available. Some stones with a specialty finish may not be able to be bullnosed without losing this finish.
If installing the stone in a wet area, make sure that the materials are properly grouted, that the underlayment or substrate is designed for this application and that any 90-degree angles are filled with a flexible caulk. If the stone is not already sealed, an impregnating sealer may be necessary prior to grouting to help facilitate cleanup.
Never install a green marble or stone with water-based thinset materials; always use an epoxy-based thinset to avoid or prevent spalling. Seal these stones well prior to grouting or in use in wet areas.
To maintain the stone installation, always wash the stone with a pH neutral cleanser and avoid any cleansers that contain acids or alkaline that could etch the stone. If the material requires sealing, use an impregnating sealer when water stops beading off the surface to help impede staining, particularly in wet areas.
Make the most of your stone installations
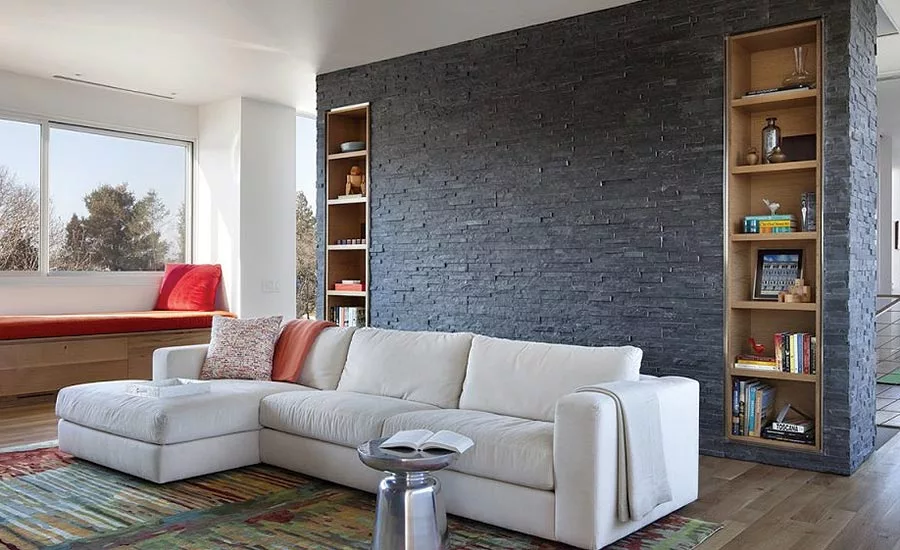
Natural stone veneer and other stone installations enhance any area they are installed in whether you use it as a stone wall accent or to improve the overall look of your living spaces. Make sure that you pay attention to the layout and setting of the stone to get the best results and make the most of your stone installations each time.
Looking for a reprint of this article?
From high-res PDFs to custom plaques, order your copy today!


