Technical Focus: Advice on Handling, Fabricating and Installing Porcelain Slabs
The virtues of porcelain slabs are numerous, which has led to its growing popularity. The material is light, thin and tough, making it suitable for nearly any interior project from bathroom sinks and vanities to shower trays, kitchen countertops and bathtubs. Because it is lightweight, in can be used in applications where weight is plays a role such as yachts, aircrafts and recreational vehicles, among many others. It is also highly stain-resistant, so as not to require sealing and is low maintenance. It’s also UV-stable, heat- and frost-resistant, so it can be used outdoors as well.
However, while it has its advantages, there are some things that any fabricator needs to learn before working with the material. With this article, I hope to share with you some of what I have learned over my 15 years of working with the material.
My first introduction to working with porcelain was around 2005. At that time, we were trying to make vanities out of tiles. I can tell you with great certainty that I have come a long way since then.
As a stonemason, my first approach to fabricating porcelain and large-format porcelain slabs was to work with it like I would work with any natural or engineered stone. However, after more failures than you can imagine, I decided I needed to find a new approach. As such, I started to look deeper to find the best way to work with the material.
Cutting
The first step I took was to learn the cutting process. Cutting porcelain, for some fabricators, can be a real nightmare of a first step because in this process some very specific rules must be respected. The first one is that you must have a good blade. This can and will make a huge difference. A second very important thing to remember is to inspect the material. In my many years of working with porcelain slabs, I’ve seen many good materials, but at the same time, I’ve also seen numerous bad materials. When I say bad materials, I’m not talking about the print or the finish on them, but rather if the material is not flat -- take warning. A bulge in a porcelain slab will give you major problems. It will be quite impossible to properly cut slabs that are bowed. When you put a slab on the bench for cutting and you can push it down, you must avoid using this material.
During the cutting process, with most brands (but not all, as there are some manufacturers that have developed methods to produce stress-free slabs), it is very important to remove the tension in the slabs all around the perimeter. This is usually done by making relief cuts as specified by the suppliers.
Of key importance is that slabs must be flat. Remember, as well, that the surface upon which you are performing the cutting the slabs must also be flat. In some cases, I use a kind of foam to allow for less vibration when cutting a slab. A very flat cutting bed is critical because if the surface is uneven, when you saw the slab, a portion of the material would likely drop down before the blade reaches the end of the cut, causing it to crack. Pay close attention to this because it is extremely important.
In terms of blades currently on the market, there are many blades suitable for use. I always prefer to use as small of a blade as I can because smaller blades create less vibration and therefore produce a better cut. Another important thing is getting the right amount of water on the blade during sawing; some people do not realize how high the temperature can reach when you cut porcelain.
Questions regarding speed can always be related back to the quality of the blade. Some blades will have to be sharpened more often than others, but this is not necessarily synonymous with a poor-quality blade.
Another system that can be used to cut porcelain is a waterjet. While these machines are more expensive compared to a saw, they will allow for faster speeds and can obviously be optimized for the cutting process — plus, they will allow you to cut any shape. However, just with sawing, it is critical for the bed to be flat. Keep in mind that during processes like mitering using a waterjet, the more accurate the mapping process of your probe is, the more perfect your miter will be. For the best results, all of the mapping should be done before making any cut, because with the probe, the more accuracy you have on your probe, the more perfect will be your miter. It is best to get all of the mapping done before making any cut because the slab is clean,and then you don’t risk having any sand or grit on top that could change the measurement during the mapping. Another very important consideration with the waterjet is to make sure the water is highly filtered. This will ensure you get a long life on both your orifice and your pump. Dirty water can damage a waterjet orifice very quickly.
Adhesives
Beyond the cutting process, there are things that must be learned regarding other parts of the fabrication of porcelain. In many ways, it can be like fabricating natural stone, but in some ways, there are certainly differences. In addition to blades specifically made for sawing it, the adhesive used must be designed for use with porcelain.
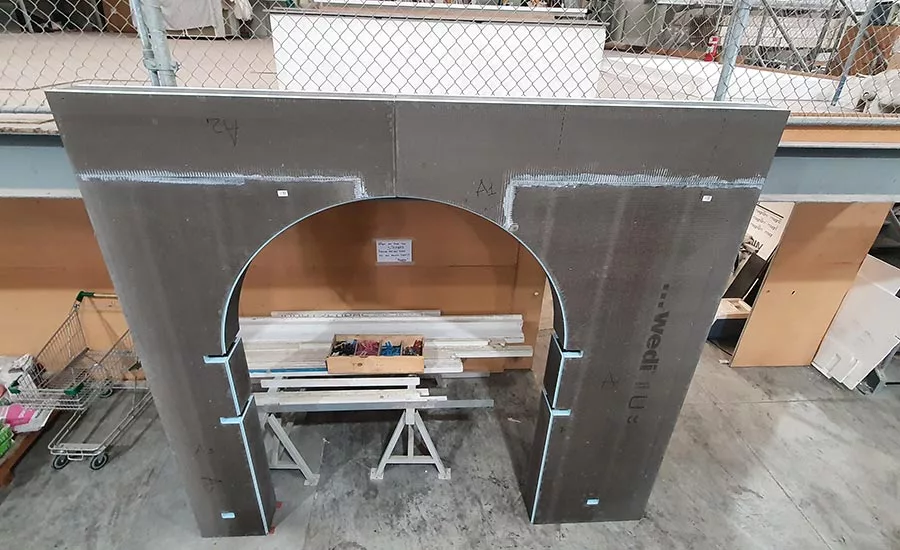
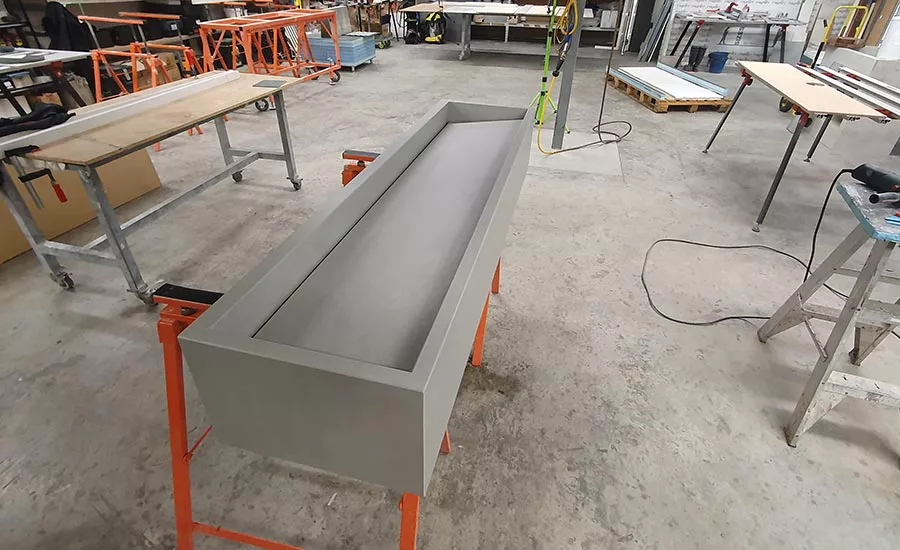
For instance, in fabricating elements using thin porcelain with a thickness of less than 12 mm, the structure will need to be made in such a manner as to give enough strength to the material. For this reason, there are many types of foam that you can use, as well as several types of glue. Both of these products must be chosen very carefully so as to ensure the longevity of the end product. Some fabricators prefer to use thinset mortar, while others will use an epoxy glue. Both are ok, but in a situation that you’re going to glue porcelain on any expandable material, such as MDF for example, you must use an elastic glue to avoid incurring problems after the installation.
The coverage of the glue on any kind of substrate must be nearly 99%. The adhesive used on a miter is almost the same, in that the correct glue will provide assurance to avoid problems in the future. I’ve seen beautiful jobs installed that, after a while, suffer from material cracking. The proper substrate and right glue play an important part during this process. As with cutting, when making anything using porcelain, you must keep an eye on the surface, checking it regularly to make sure it is straight and level during all processes.
Also, if you are fabricating something for an outdoor application, make sure your glue has been developed for use in outdoor environments. Consider all the elements -- rain, sun, etc. -- and use a glue that is elastic enough to hold up to expansion and contraction. I have seen fascia fall off after only a short time because the adhesive chosen was not correct for the project.
Regarding the miter, you can perform a simple test to check the strength of the glue in the miter joint. Simply glue the pieces together and after the cure time, try to break it; if the pieces break apart at the glue joint, it means it is not strong enough, but if the pieces break the porcelain and keep the miter joint held in position, the glue is suitable. Also, on thin porcelain, it is always a good thing to allow a gap between the pieces, especially on the seams.
Polishing and Installation
In regards to polishing, the process is very comparable to polishing stone. Use a sufficient amount of water and high-quality polishing pads. Additionally, a few companies have developed special kits to repair light scratches on the surfaces of porcelain, which can be useful if there is any damage.
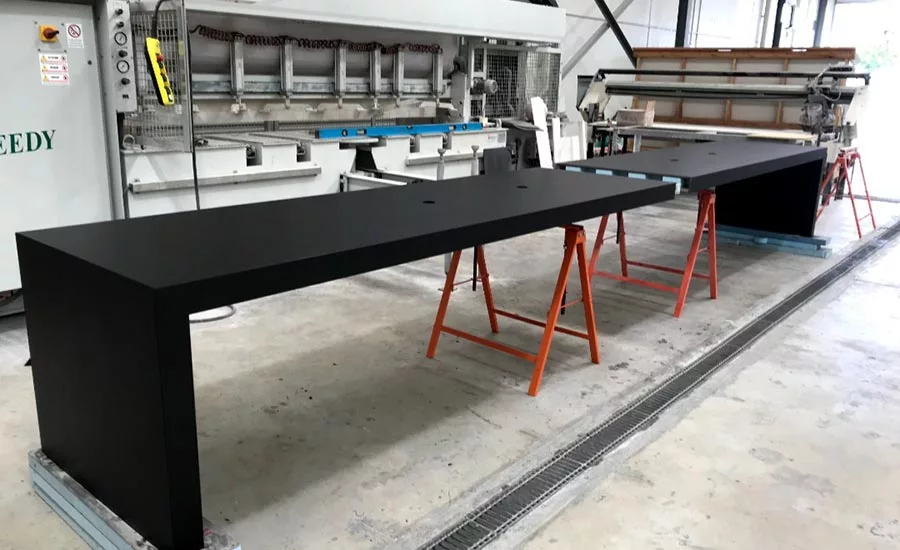
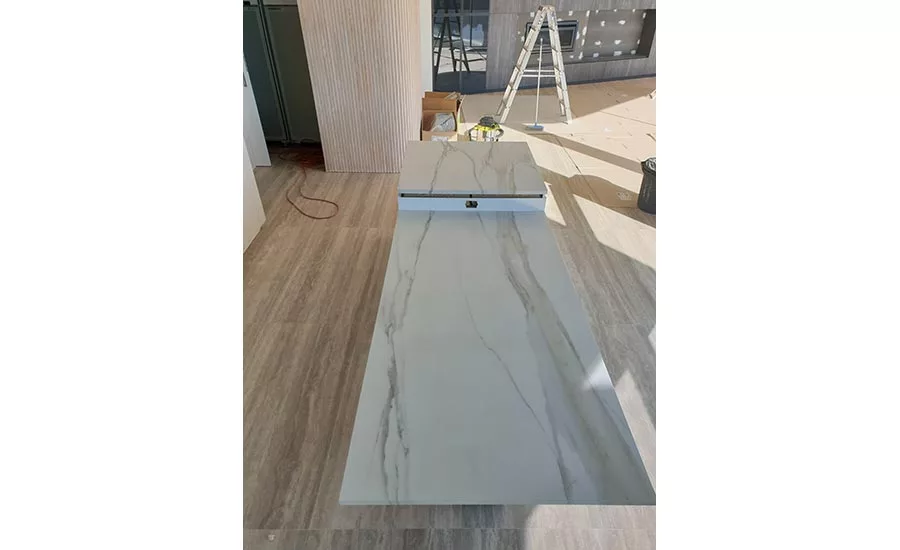
The installation process is obviously the last, and a particularly important part, of the overall process. When you have to install something like a kitchen countertop, there are a number of important aspects to keep in mind. Just as when cutting the material, when installing it, it is critical that it remains level and well supported. As such, it is of great importance that the cabinetry that will hold the tops is level. Additionally, all cut-outs should have solid support, especially where you may have a joint. Also, I always prefer to leave an allowance between the walls and porcelain to avoid future problems if there is any expansion.
One other significant thing to remember is that using thin porcelain such as 3.5-mm- or 6-mm-thick, means treating it different than that which is 12-mm-thick or thicker. Thin porcelain requires more attention during the cutting process and fabrication because of the fact that you need a substrate to support it. Thicknesses of 12 mm or above do not require a substrate, but we still use it to build-up things above that thickness.
As a final thought, watch for and keep up to date with the latest products and procedures for handling, cutting, gluing, polishing and installing porcelain slabs, as well as any other aspect of working with this material. It is likely more and more attention will be paid to the development of these products as it continues to increase in popularity.
Looking for a reprint of this article?
From high-res PDFs to custom plaques, order your copy today!


