Designer uses large-format tile to transform a small space
Designer Sheryl Steinberg used large-format tile to create a small space into one that feels much larger

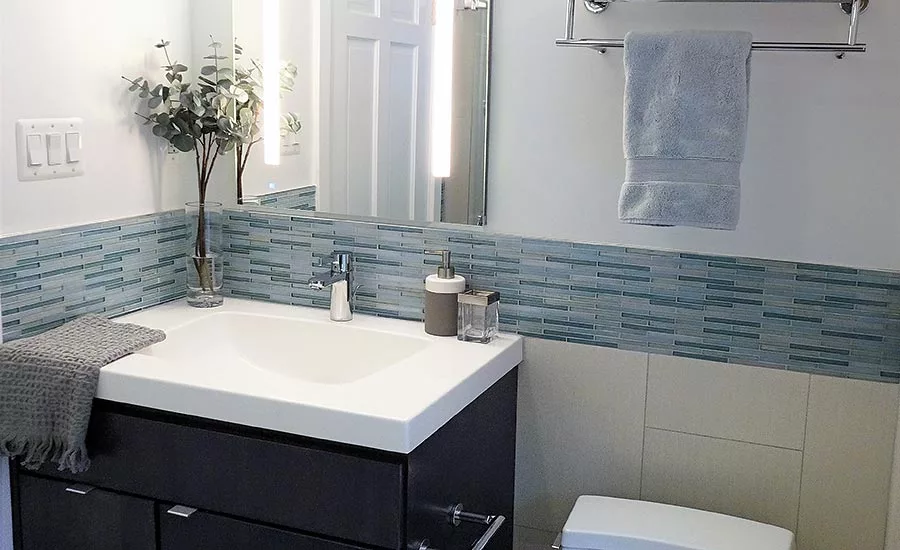
Working within an extremely small footprint in an original 1951 home, Sheryl Steinberg, Allied ASID, LEED Green Associate, of Sheryl Steinberg Interior Design, LLC in Bethesda, MD, was tasked with creating an open, modern, bright, efficient, usable, roomier bathroom that reflected the owner’s modern style. “I needed to design a functional and efficient bathroom while also opening up the existing space both visually and functionally,” said Steinberg. “I kept the design simple, streamlined, balanced and modern. They wanted a complete transformation into a brightly lit, modern bathroom with storage and the most efficient use of the space they had.
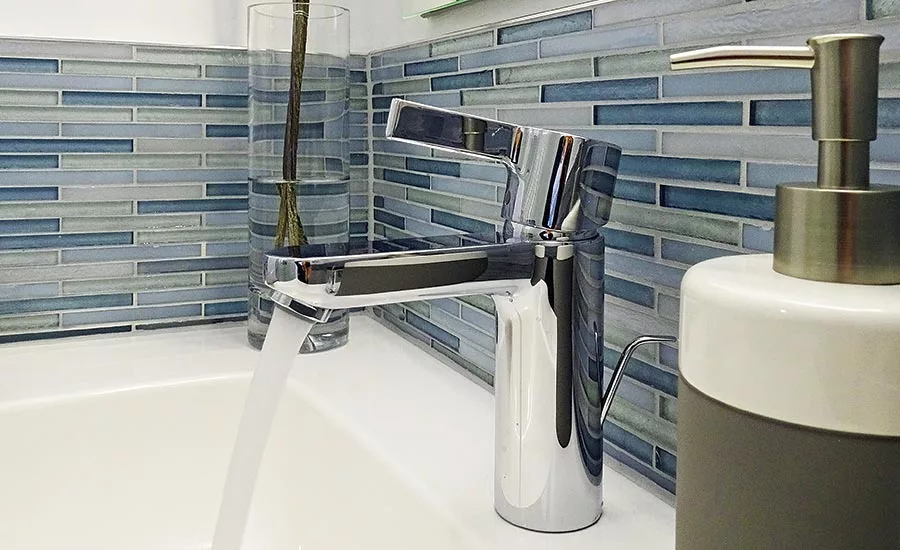
“I had to multi-task, multi-use the space that I had to work with to fit in what was needed for a modern family to grown with where none existed in the current original space,” Steinberg went onto say. “For example, a tiled niche that serves as a shelf and focal point, LED-lit mirror that serves as a mirror, and task lighting and USB/electrical outlet, glass shower enclosure that serves as a towel bar and clear glass opens up the space and modern design element with light reflection from the chrome hardware, new vanity with storage for bath products, etc. This is the main family bath, as well as for guests so it had to serve multiple purposes.”
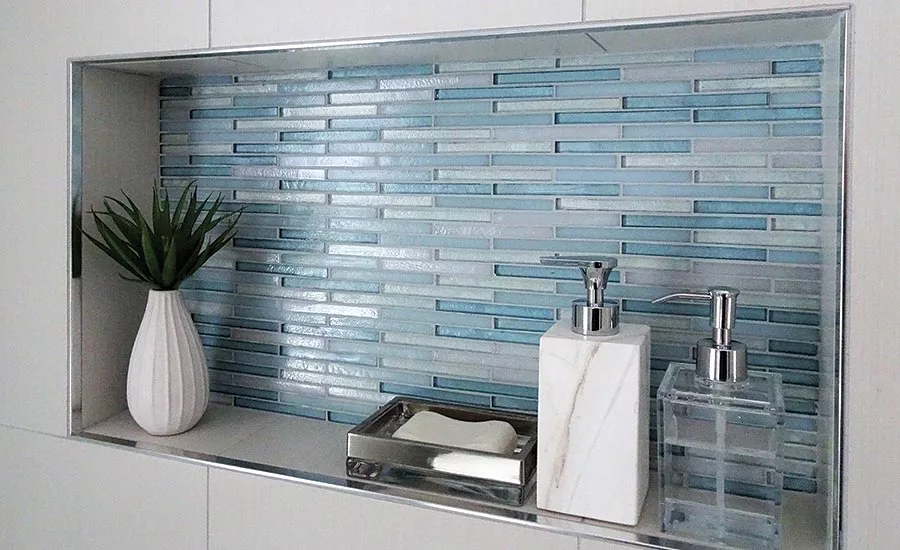
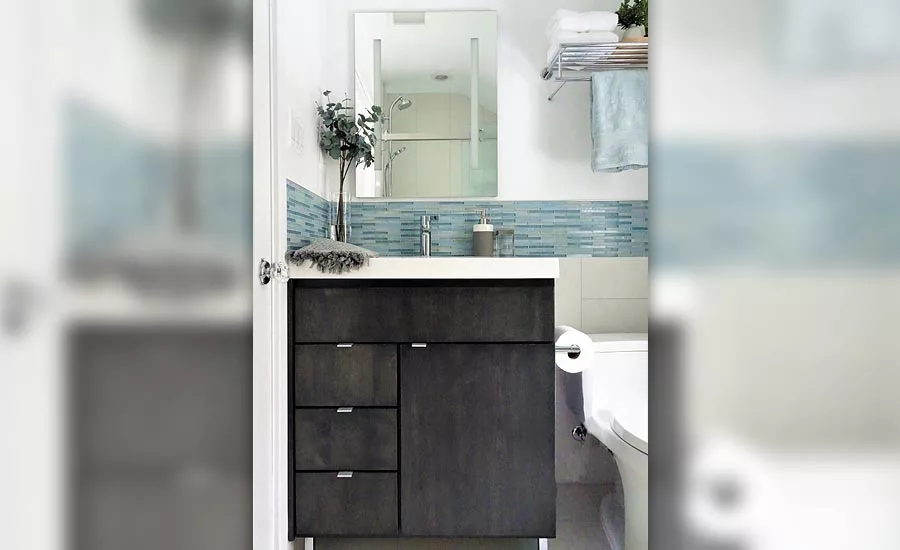
Tile was an extremely important element for the bathroom, as it was used throughout for the floor and walls for moisture protection, a large built-in niche and design aesthetic. “I used a 12- x 24-inch porcelain tile for a clean, modern look and easy to maintain,” said Steinberg. “I used a custom-designed glass mosaic I designed for the accent reflecting the client’s wishes for a watery blue spa feel. I worked with Oceanside Glasstile’s selection to choose the four colors and finishes to create a custom palette. The niche in the bath/shower created a center walled focal point with built-in ample room for bath products as well as serving as a design element and space saving solution.”
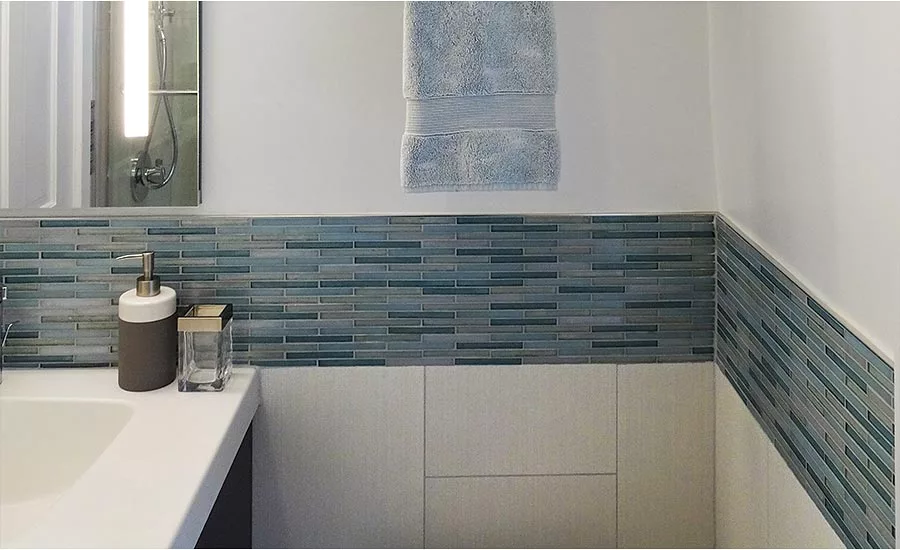
For the mosaics, Oceanside Glasstile’s Muse Blend Prose ½- x 4-inch tile in four colors were used: Moonstone Non-Irid, Pacific Non-Irid, Dove Irid and Clear Non-Irid. It covered 65 square feet of space. For the large-format field tile, 108 square feet of Tweed Pure White Porcelain Field tile in 12- x 24-inch sizes were used. For the grout, Laticrete’s Permacolor Select Silver Shadow was used and Schluter’s Jolly Chrome Polished Edge Profile for the metal edge was used. The tile was used for the floor and walls. The original shower had tile going up only halfway with moisture and mildew accumulating on the top half of the wall. Steinberg created a center walled niche with built-in ample room for bath products as well as serving as a design element and space saving solution. The mosaic’s multiple hues of blues and finishes in the glass mosaic added color, depth, reflection and texture that did not overwhelm the space.
The most difficult aspect of the project was the bathroom’s size. “This is a very small space bathroom,” said Steinberg. “Specific to this size constriction, not only was the footprint limited, but it has a sloped ceiling and felt very closed in. For this particular project, we needed to be sure the measurements were quite exact for the large-format tiles so that the tiles were not cut too short or too narrow to keep the integrity of the 12- x 24-inch elongated size. The client and I wanted the modern, clean design, and I wanted to use a larger format tile to keep a clean, more seamless look with less grout lines. I did not want the rectangles to be cut short for the small space, so I worked with the tile installer to be sure we could avoid this issue. This continued up the wall vertically to give the feeling of taller walls.”
The project took approximately five weeks from demolition to completion. The design process prior to that was about four months, including ordering lead times for fixtures and materials. The designer spent time on-site supervising the installation. “It is imperative to be involved in a bathroom renovation from start to finish to avoid any potential issues up front,” said Steinberg. “I was involved with the tile installers from the start and throughout the project until completion. It’s a team effort and we all communicate the design and installation process for a successful tile and bath installation. Initially at the start of the project before demolition, I provided the team with dimensioned AutoCAD drawings of the tile floor plan and tile elevation drawings, which specified which tile to use and how much, the tile design and placement throughout the space. Once install day arrived, the installer, contractor and I measured and reviewed the tile design for the floor and continuing up the wall, grout line measurements, transitions between walls and mosaics, Schluters, threshold and niche. I stopped by the house in the morning at the start of the workday to check in on progress and answer any questions. It all worked out great and was a successful outcome. When I am designing a bathroom and checking in on installation, I’m very proactive in communicating closely with the contractor and the installers for a seamless process and avoid any potential problems or issues that could possibly cause delay or added costs.”
Since the completion of the project, Steinberg has shared the homeowner’s excitement for the finished product. “The design, demolition and installation was seamless without any problems or obstacles, and there were no surprises behind the walls of a 1951 original bathroom,” said Steinberg. “The tile is so beautiful and was exactly what my client envisioned for a spa-like environment. I absolutely love renovating aged bathrooms, taking old, tired, and difficult to use bathrooms and transforming them into a modern oasis with quality fixtures and materials that make owners so happy and can’t wait to use for years to come. Being one of the most used rooms in a home from the moment one wakes up to the time one goes to sleep, bathroom design is truly transformative.”
Looking for a reprint of this article?
From high-res PDFs to custom plaques, order your copy today!

Jason Kamery is the Managing Editor and Group Digital Editor of Stone World. With more than a decade of experience covering the stone and countertop industry, he has conducted hundreds of interviews with fabricators, manufacturers, and industry leaders, and hosts the Stone World. podcast. He reports from events worldwide, including TISE, Coverings, and Marmomac, and his coverage extends to worker safety and silicosis, trade policy and tariffs, and fabrication technology. Kamery has also served as a speaker and panel moderator at The International Surface Event (TISE). He graduated from Purdue University with a B.A. in Mass Communication.
email: kameryj@bnpmedia.com | office: (248) 833-7356
![]()


